


Preparing a rough opening correctly is absolutely essential to your window install project. In this guide, the window experts at Ring’s End walk through each step that needs to happen before the new window is ordered and placed — from measuring the rough opening to flashing the sill pan.
Always check your window manufacturer's warranty information and weather-resistant barrier (WRB) details to make sure you are following installation practices that uphold the product warranties. In this guide, our window pros follow standard practices for measuring and preparing a window rough opening, using a Marvin Elevate Double-Hung Window with Dupont Weathermate Plus Housewrap as an example.
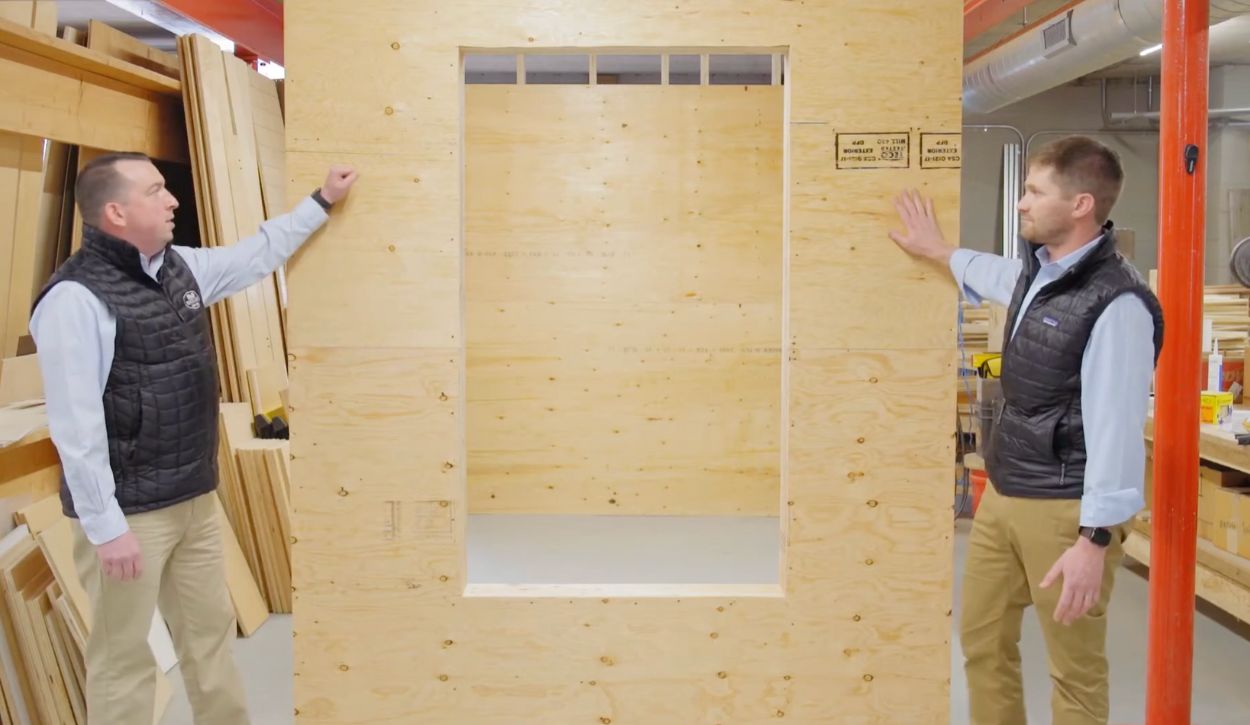
How to Measure a Rough Opening for a Window
Before you can order the correct window, you need to know the exact specifications of the window rough opening. Take these measurements carefully:
- Height of the window rough opening — measured based on interior dimensions
- Width of the window rough opening — measured from the interior of the header to the sill
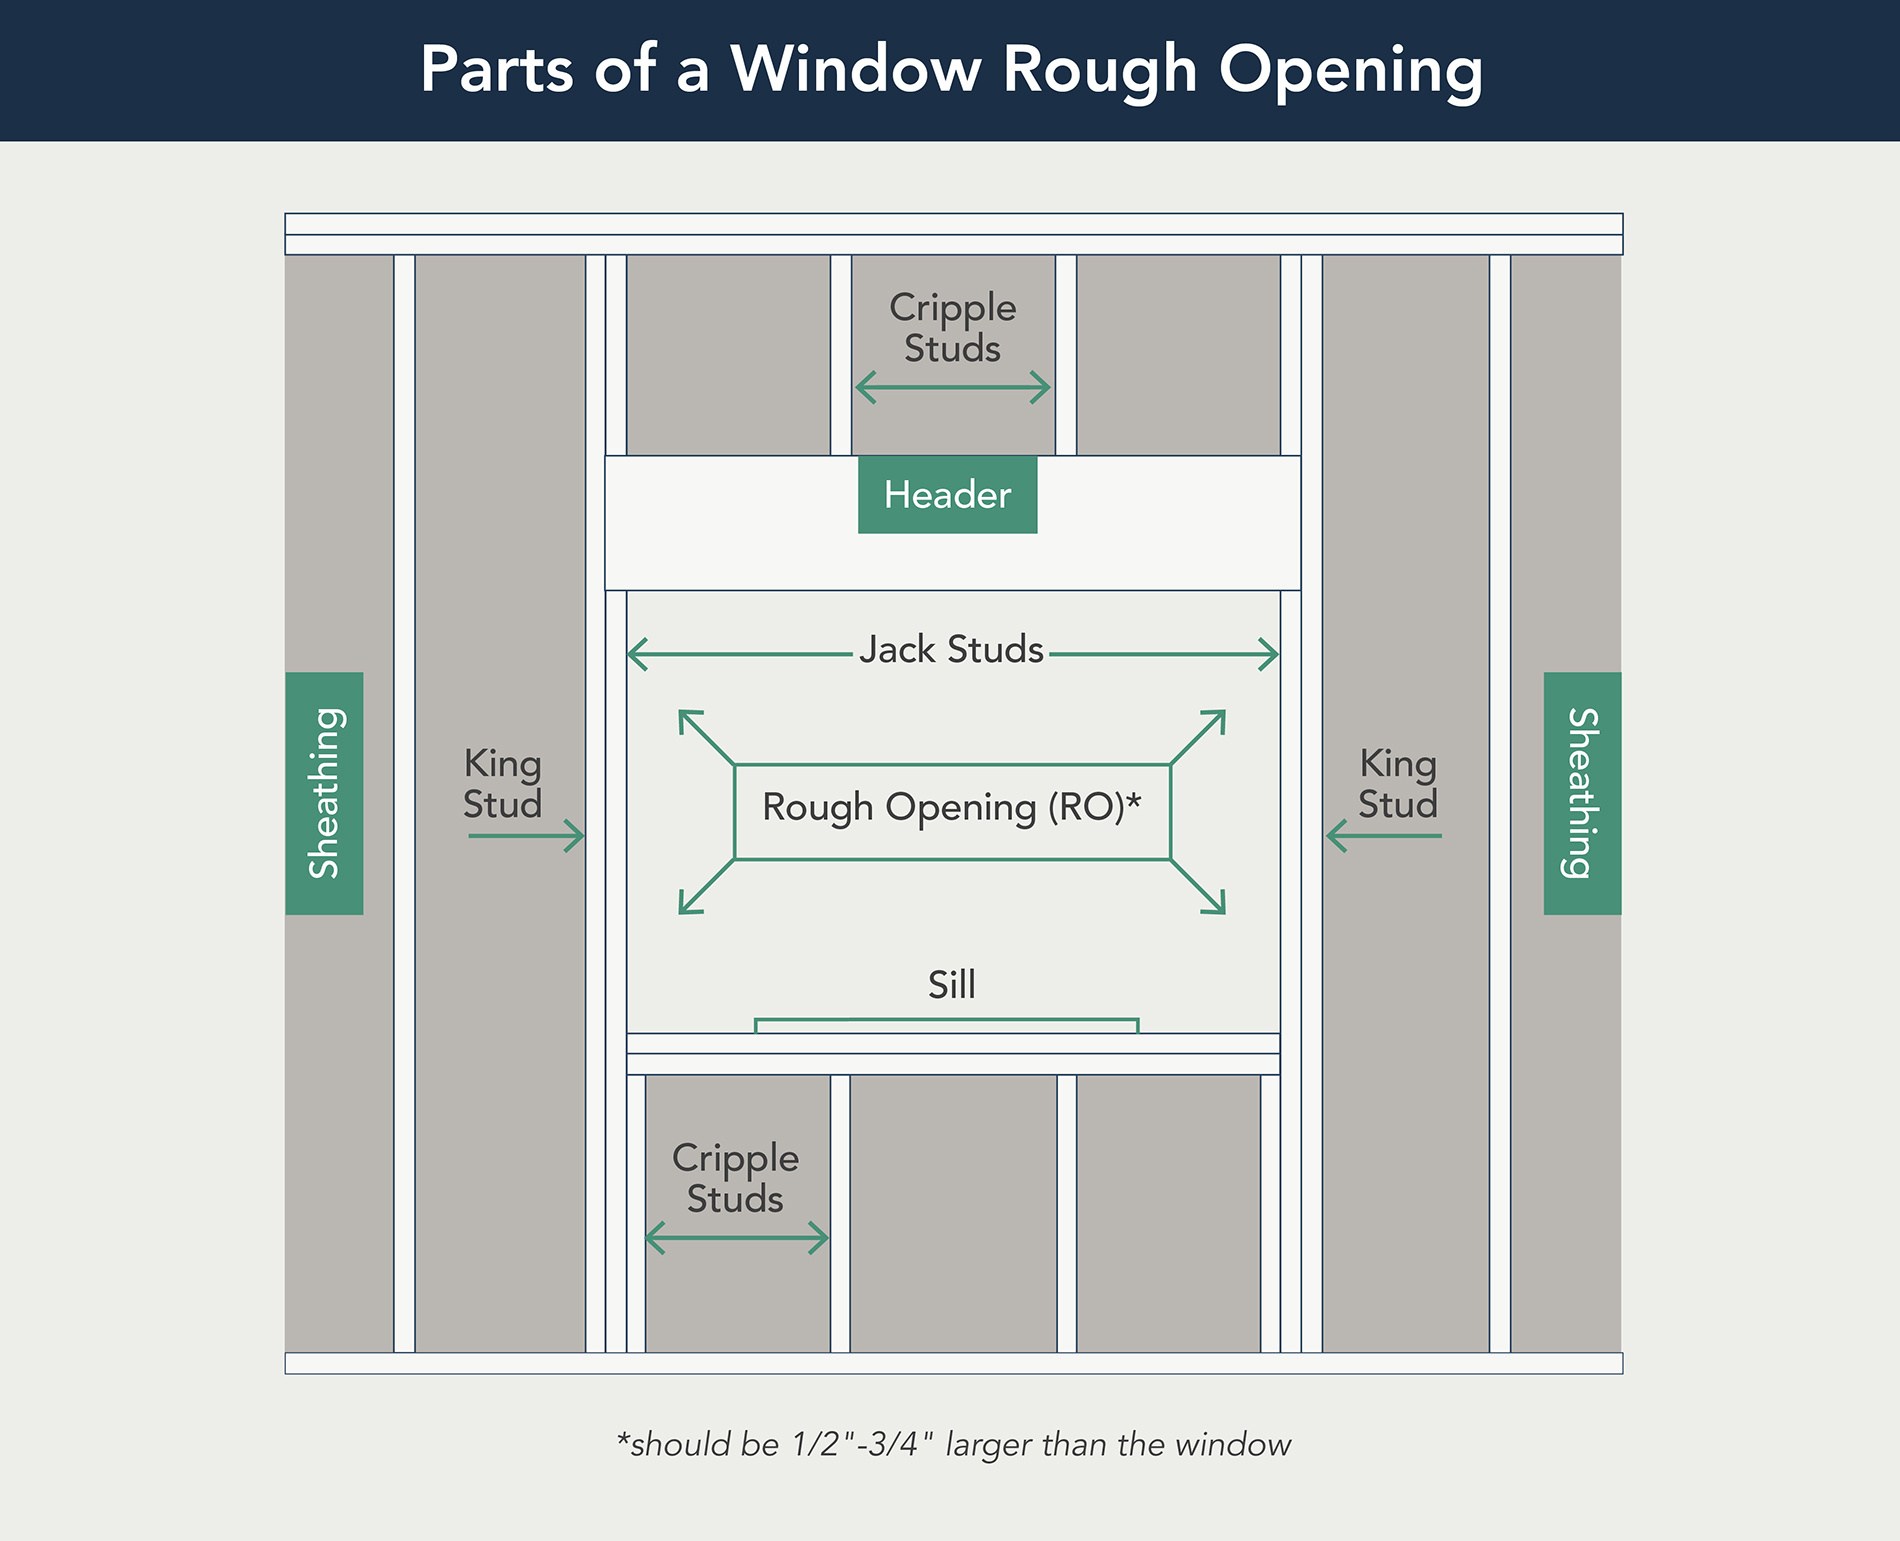
In general, the size of the rough opening should be ½” to ¾” larger than the actual size of the window frame. However, it’s important to check the specific guidelines provided by the window manufacturer to ensure you create the perfect window rough opening for the product being installed. Find product-specific rough opening measurements, window measurements, and sizing guides for Marvin windows on Marvin’s technical specifications page.
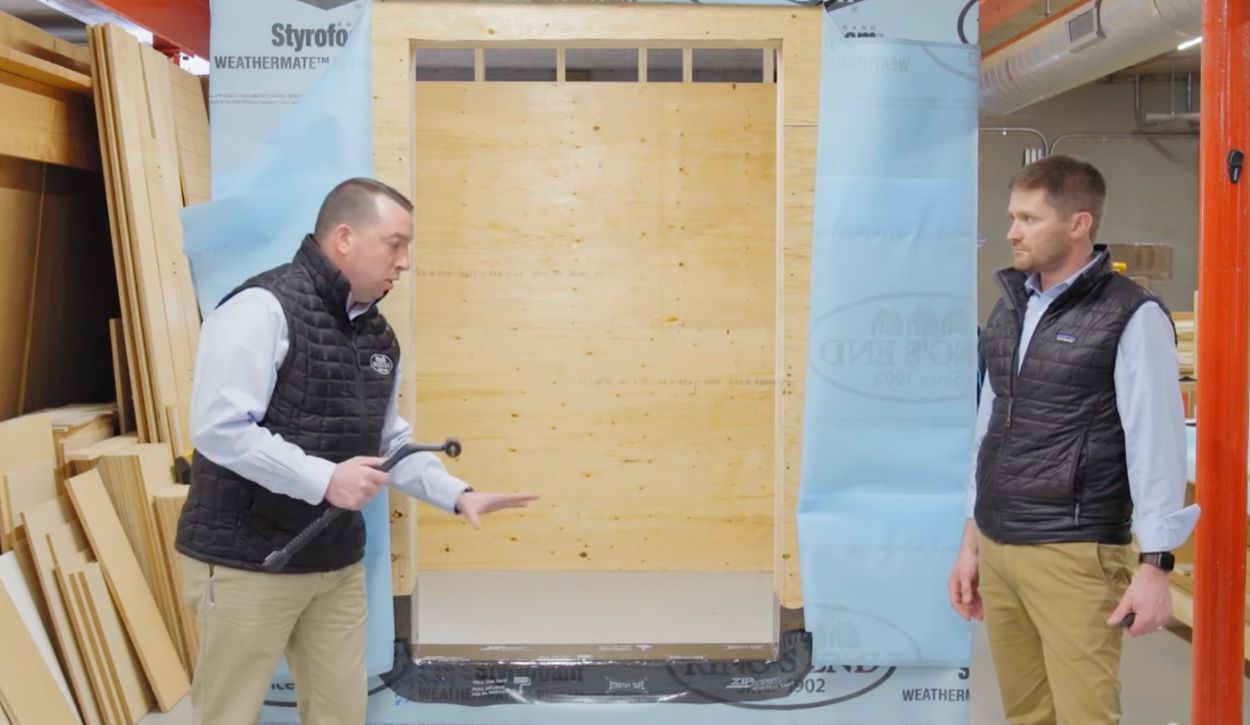
Check if the Window Opening and Wall are Plumb
It’s crucial to confirm that the rough opening and wall are plumb and level. Use a large level to check that the surface is plumb and level, both horizontally and vertically.
If the wall isn’t plumb, as is often the case with old houses, you’ll need to take the condition of the wall into account when you install the window. For example, you may need to adjust certain corners of the window backward or forward to align with the positioning of the wall.
Without checking for plumb and level and then making proper adjustments, you will end up with a lot of complications down the road! The window hardware won’t function properly, the window flashing may not be effective, and the overall lifespan and performance of the window will be compromised.
How to Frame Window Rough Openings to the Right Size
If the rough opening isn’t quite the right size for the window you ordered, you’ll need to make some adjustments. Before you decide where to add or remove materials, consider how the window sits in reference to other architectural features and make sure your adjustment doesn’t interfere with the look of the house.
How to Make a Rough Opening Bigger
In general, it’s a better idea to remove material from the sill rather than the header to avoid weakening the structure. If you do need to cut into the top, and losing some insulation isn’t an issue, reinforce the header to maintain load requirements.
If you have questions about prepping a window rough opening with non-traditional insulation such as rigid insulation, reach out to the window team at Ring’s End. We’ll be happy to help!
How to Make a Rough Opening Smaller
Installing additional strips of plywood is usually the best way to make a rough opening smaller. However, for more significant adjustments (over 3 inches) it would be better to frame in the opening and add sheathing.
Be sure to use exterior-grade sealant or adhesive around the boards and keep the boards flush with the outer edge of the sheathing. If you have to add boards around every side of the opening, start with the top and bottom and then fill in the sides.
Sloping the Sill
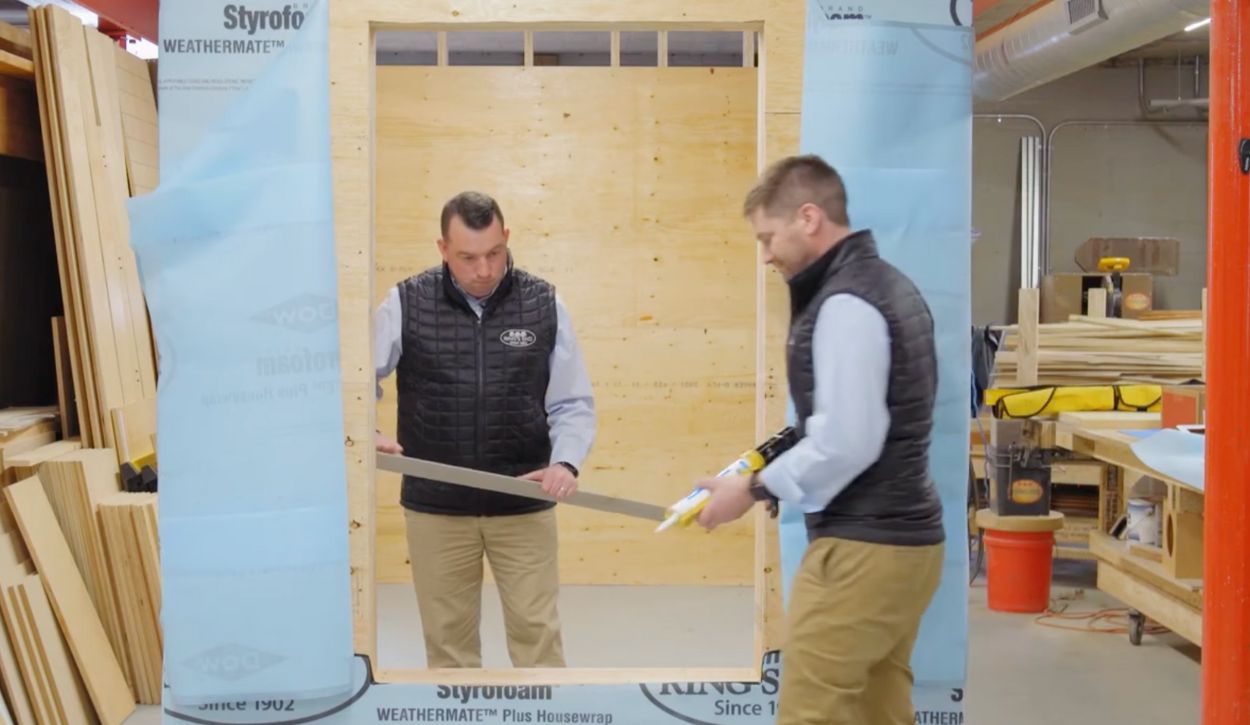 Slope the sill with a piece of beveled siding
Pitching the sill makes sure any water can drain out. This step is not required by Marvin, but we recommend it.
The standard process for sloping the sill is to install a half-inch by 6-inch piece of beveled siding on the window pan. Apply the sealant in a zigzag pattern to get good coverage across the entire sill, and use a sealant that meets manufacturer requirements. You’ll also use this sealant behind the nailing fins.
A more advanced technique is to pitch the sill by using the framing — cutting the cripple studs at a 4-5 degree angle.
Marvin-Approved Sealants
Marvin requires the caulk to be compliant with ASTM C920, Grade NS, Class 25. We recommend:
How to Prep Rough Openings for Window Installation
Once the rough opening is framed to the right size, there are a couple more steps to take before you can place the window: flashing the sill to create a foundation for your weathertight system, and placing shims that keep the window plumb and level.
Flash the Sill
 Apply flashing material to the window sill pan
The window sill pan needs to be flashed to keep out moisture. Code requires the flashing to be applied a minimum of 6 inches up on either side of the rough opening.
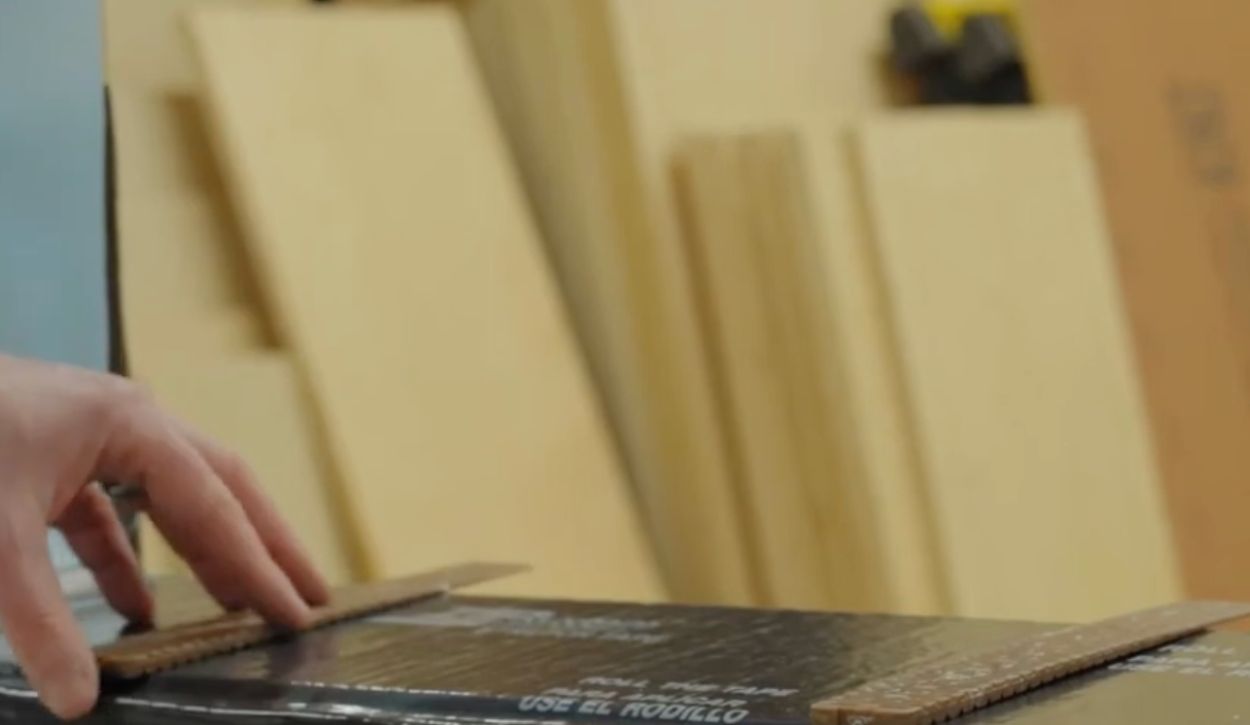
If you use stretch tape, note that this product has a tendency to want to go back to its original form, which can cause issues when stretching it over the corners of the sill. One trick to ensure better adhesion is to apply seam tape underneath where you will stretch the tape.
 Ensure the corners are sealed and roll the flashing material to activate the adhesive
After the stretch tape is applied, be sure to roll it with a laminate roller. This step is crucial to achieving proper adhesion. Any peel-and-stick tape, or even modern house wraps, require pressure to activate the adhesive.
Marvin-Approved Flashing Tape
Marvin requires non-rubberized asphalt flashing on their PVC flanged windows.
We recommend at least using butyl flashing, or better yet — acrylic adhesive flashing such as 3M All-Weather Flashing Tape so you can get good adhesion in a lot of different temperatures and environments. In the examples above, our team used Huber Zip System Stretch Tape to flash the sill pan.
Place Shims on the Sill
 Place shims to achieve plumb and level
Because the sill pan is pitched at an angle, you’ll need to place shims that keep the window plumb and level.
Step-By-Step Video Tutorials for Installing Marvin Windows
Watch our video tutorials on how to install a Marvin Elevate Double-Hung Window according to the manufacturer’s instructions — from prepping the window opening to flashing the exterior window. Our team covers best practices for installing new windows with a variety of weather-resistant barriers:
- Huber Engineered Woods ZIP System Sheathing [VIDEO]
- Dupont Weathermate Plus Housewrap [VIDEO]
- Henry Blueskin VP100 [VIDEO]
If you have any questions about working with these housewrap systems or how to install new construction or replacement windows from Marvin, let us know! The Ring’s End window team will be happy to help.
Next: Placing and Flashing the Window
Once the rough opening is prepared, it’s time to place the window and make sure it’s weathertight. Here are the resources you need for next steps:
- How to Install Windows with Nailing Fins: Best practices for placing new construction Marvin windows that have nailing flanges.
- How to Flash a Window: Best practices for making your window install weathertight, including how to flash the window jamb and header.
Ring’s End is a Trusted Resource for Window Installers
As an experienced window supplier and installer, the window team at Ring’s End knows the importance of proper rough opening preparation and window installation practices.
Our window pros have been working with the Marvin brand for over 50 years, and we’re proud to be an authorized Marvin dealer due to the quality performance and design versatility of Marvin products. If you want to experience Marvin windows for yourself or talk with our window specialists in person, visit one of our eight showrooms across the Northeast. We offer a variety of complimentary services for window contractors and would love to be a resource for your business.